Why I want to switch to DaVinci Resolve 15

There’s one thing–only one thing–that keeps me stuck on Windows 10 on my laptop, and that’s my need to edit video for the Category5 TV Network. It has to be pro, and Linux has traditionally lagged far behind in its available offerings in comparison to Mac or Windows when it comes to video editing.

I’ve used Cyberlink PowerDirector for years. I know, it’s a cheap application and professionals will laugh at me. But fact is, it works very well, and has all the features I need to make a professional looking broadcast.

But it only works on Windows, and so I’ve been stuck on Windows.

I’ve been watching the progress of DaVinci Resolve from BlackMagic since it was first released, and even tried getting it going a few times, but it’s always been unstable on Linux. So I’m still stuck. But seeing video tutorials about it, and watching the changelogs, it really looks like it could be the video editor of Linux.

I installed LMDE 3 to see if it would take DaVinci Resolve, and I see BlackMagic has still not made any strides toward improving Linux support. The installer sucks. The software depends on old libraries, yet doesn’t install them. It’s trash, really. A sad state to be sure.

I’m going to do some tinkering, try moving over to Linux Mint to see if the Ubuntu base helps things (ie., proprietary NVIDIA drivers will probably be a bit newer), convert Resolve’s installer to a deb pack, and try installing it there. I’ll probably go through a few distros just trying to see where I can get Resolve working stable. I have v14 working on our family desktop computer running Ubuntu, but it’s unstable. Hoping for better results with Resolve 15.

So beyond the Windows requirement I’m currently under, there are a few things I absolutely require out of my video editor, and these are things that have prevented me from being able to move to a Linux editor in the past, but DaVinci Resolve appears to meet the requirements.

ProRes 4:2:2 editing. Yeah, I need that now that we’re recording to an Atomos Ninja Flame. Cyberlink PowerDirector handles ProRes files like a boss. I know DaVinci Resolve will do the same.

When I produce shows like New Every Day, I badly need multi-cam editing functionality in my editor. We only have one camera on that set, but because it is 4K we punch in to cut it into 3 different camera shots. In Cyberlink Power Director, I assign each of these “cameras” (punched-in shots) to keyboard keys, and simply press the key to change cameras. It automatically creates the edits on the timeline, and saves me a TON of editing work, while making the show appear like it has 3 cameras. I’ve even thought about getting a second StreamDeck (or even a mini) just for multi-cam editing.

Multi-Cam Editing looks just as good, and possibly better in DaVinci Resolve than it is in Cyberlink PowerDirector. Though this video doesn’t mention anything about keyboard shortcuts, I can’t imagine you actually have to use your mouse to switch shots. If it does not have keyboard-based switching, I’d have to give this one to Cyberlink PowerDirector, but it’s close enough to make the transition to DaVinci Resolve work.

Dynamic Zoom is just as easy in DaVinci Resolve as it is in Cyberlink PowerDirector. I use this heavily to give the punch-in shots some movement as if there’s someone operating the faux camera.

So there are a few reasons I think DaVinci Resolve might be ready, and might be able to help me transition fully to Linux on my laptop. As long as it is stable. Here’s hoping!

[Update]

Linux Mint 19 took DaVinci Resolve like a champ! Just had to install libssl-dev and ocl-icd-opencl-dev with apt, and it loaded up just fine! No other tricks or gimmicks, and no having to create symlinks to libraries!

Obviously I had to active the NVIDIA drivers, and Resolve warns me performance may suffer on my old lappy, but I’m running!

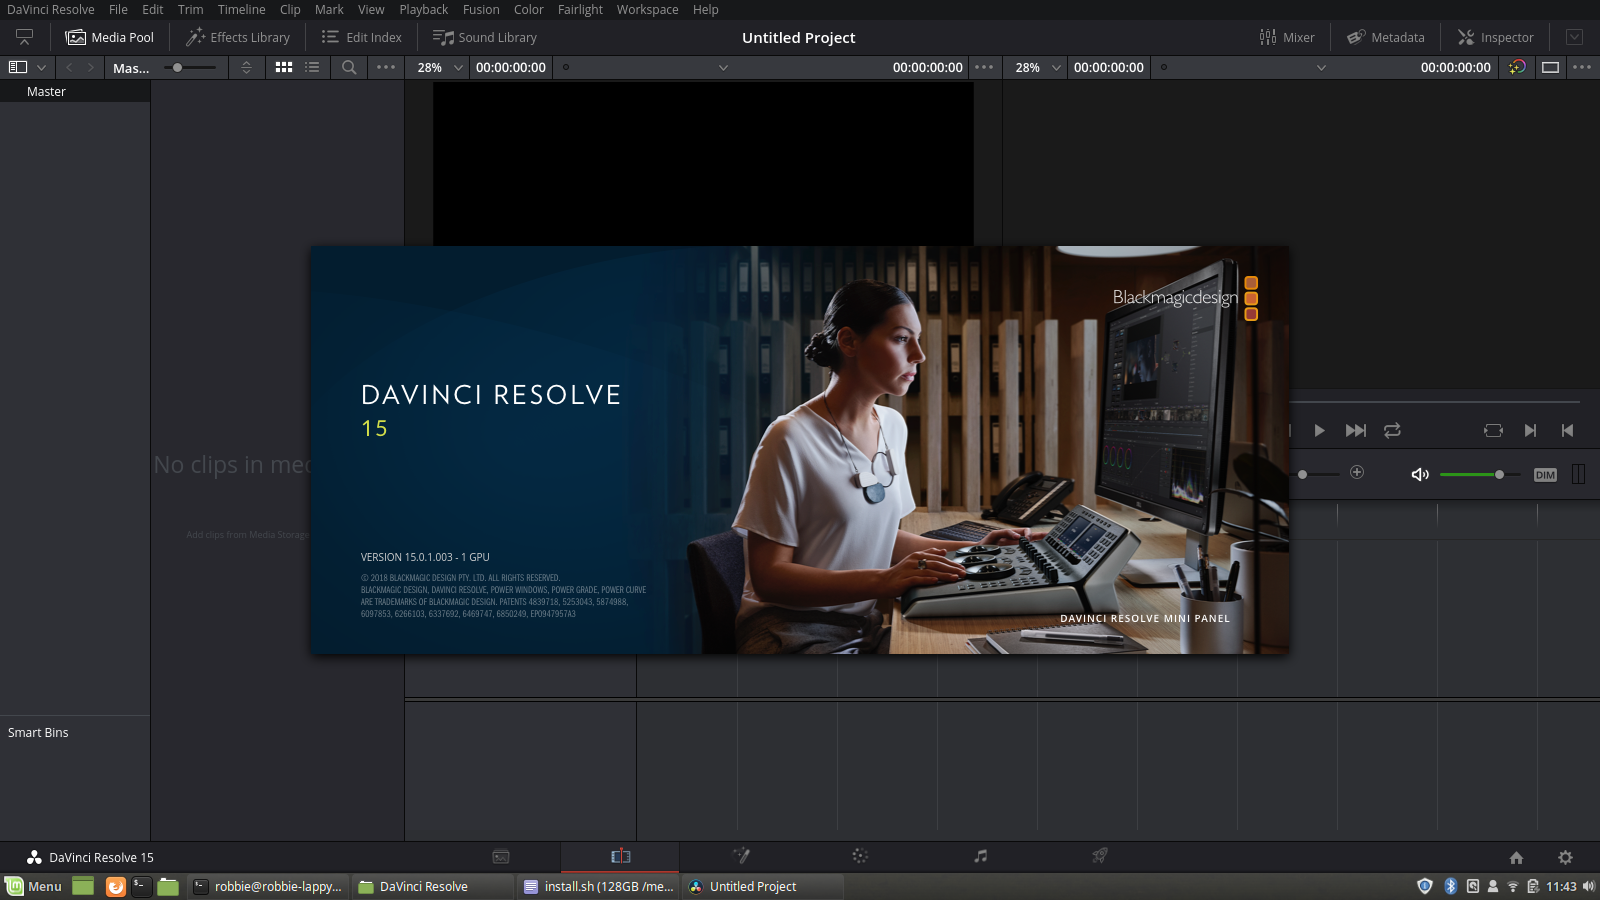
DaVinci Resolve 15 running on Linux Mint 19

[Update 2]

Okay, so it’s running. However, even with gstreamer-plugins, vlc, and Mint’s multimedia codecs installed, Resolve only sees the PCM audio for MP4 files shot on the Sony FDR-AX53, which are XAVC.

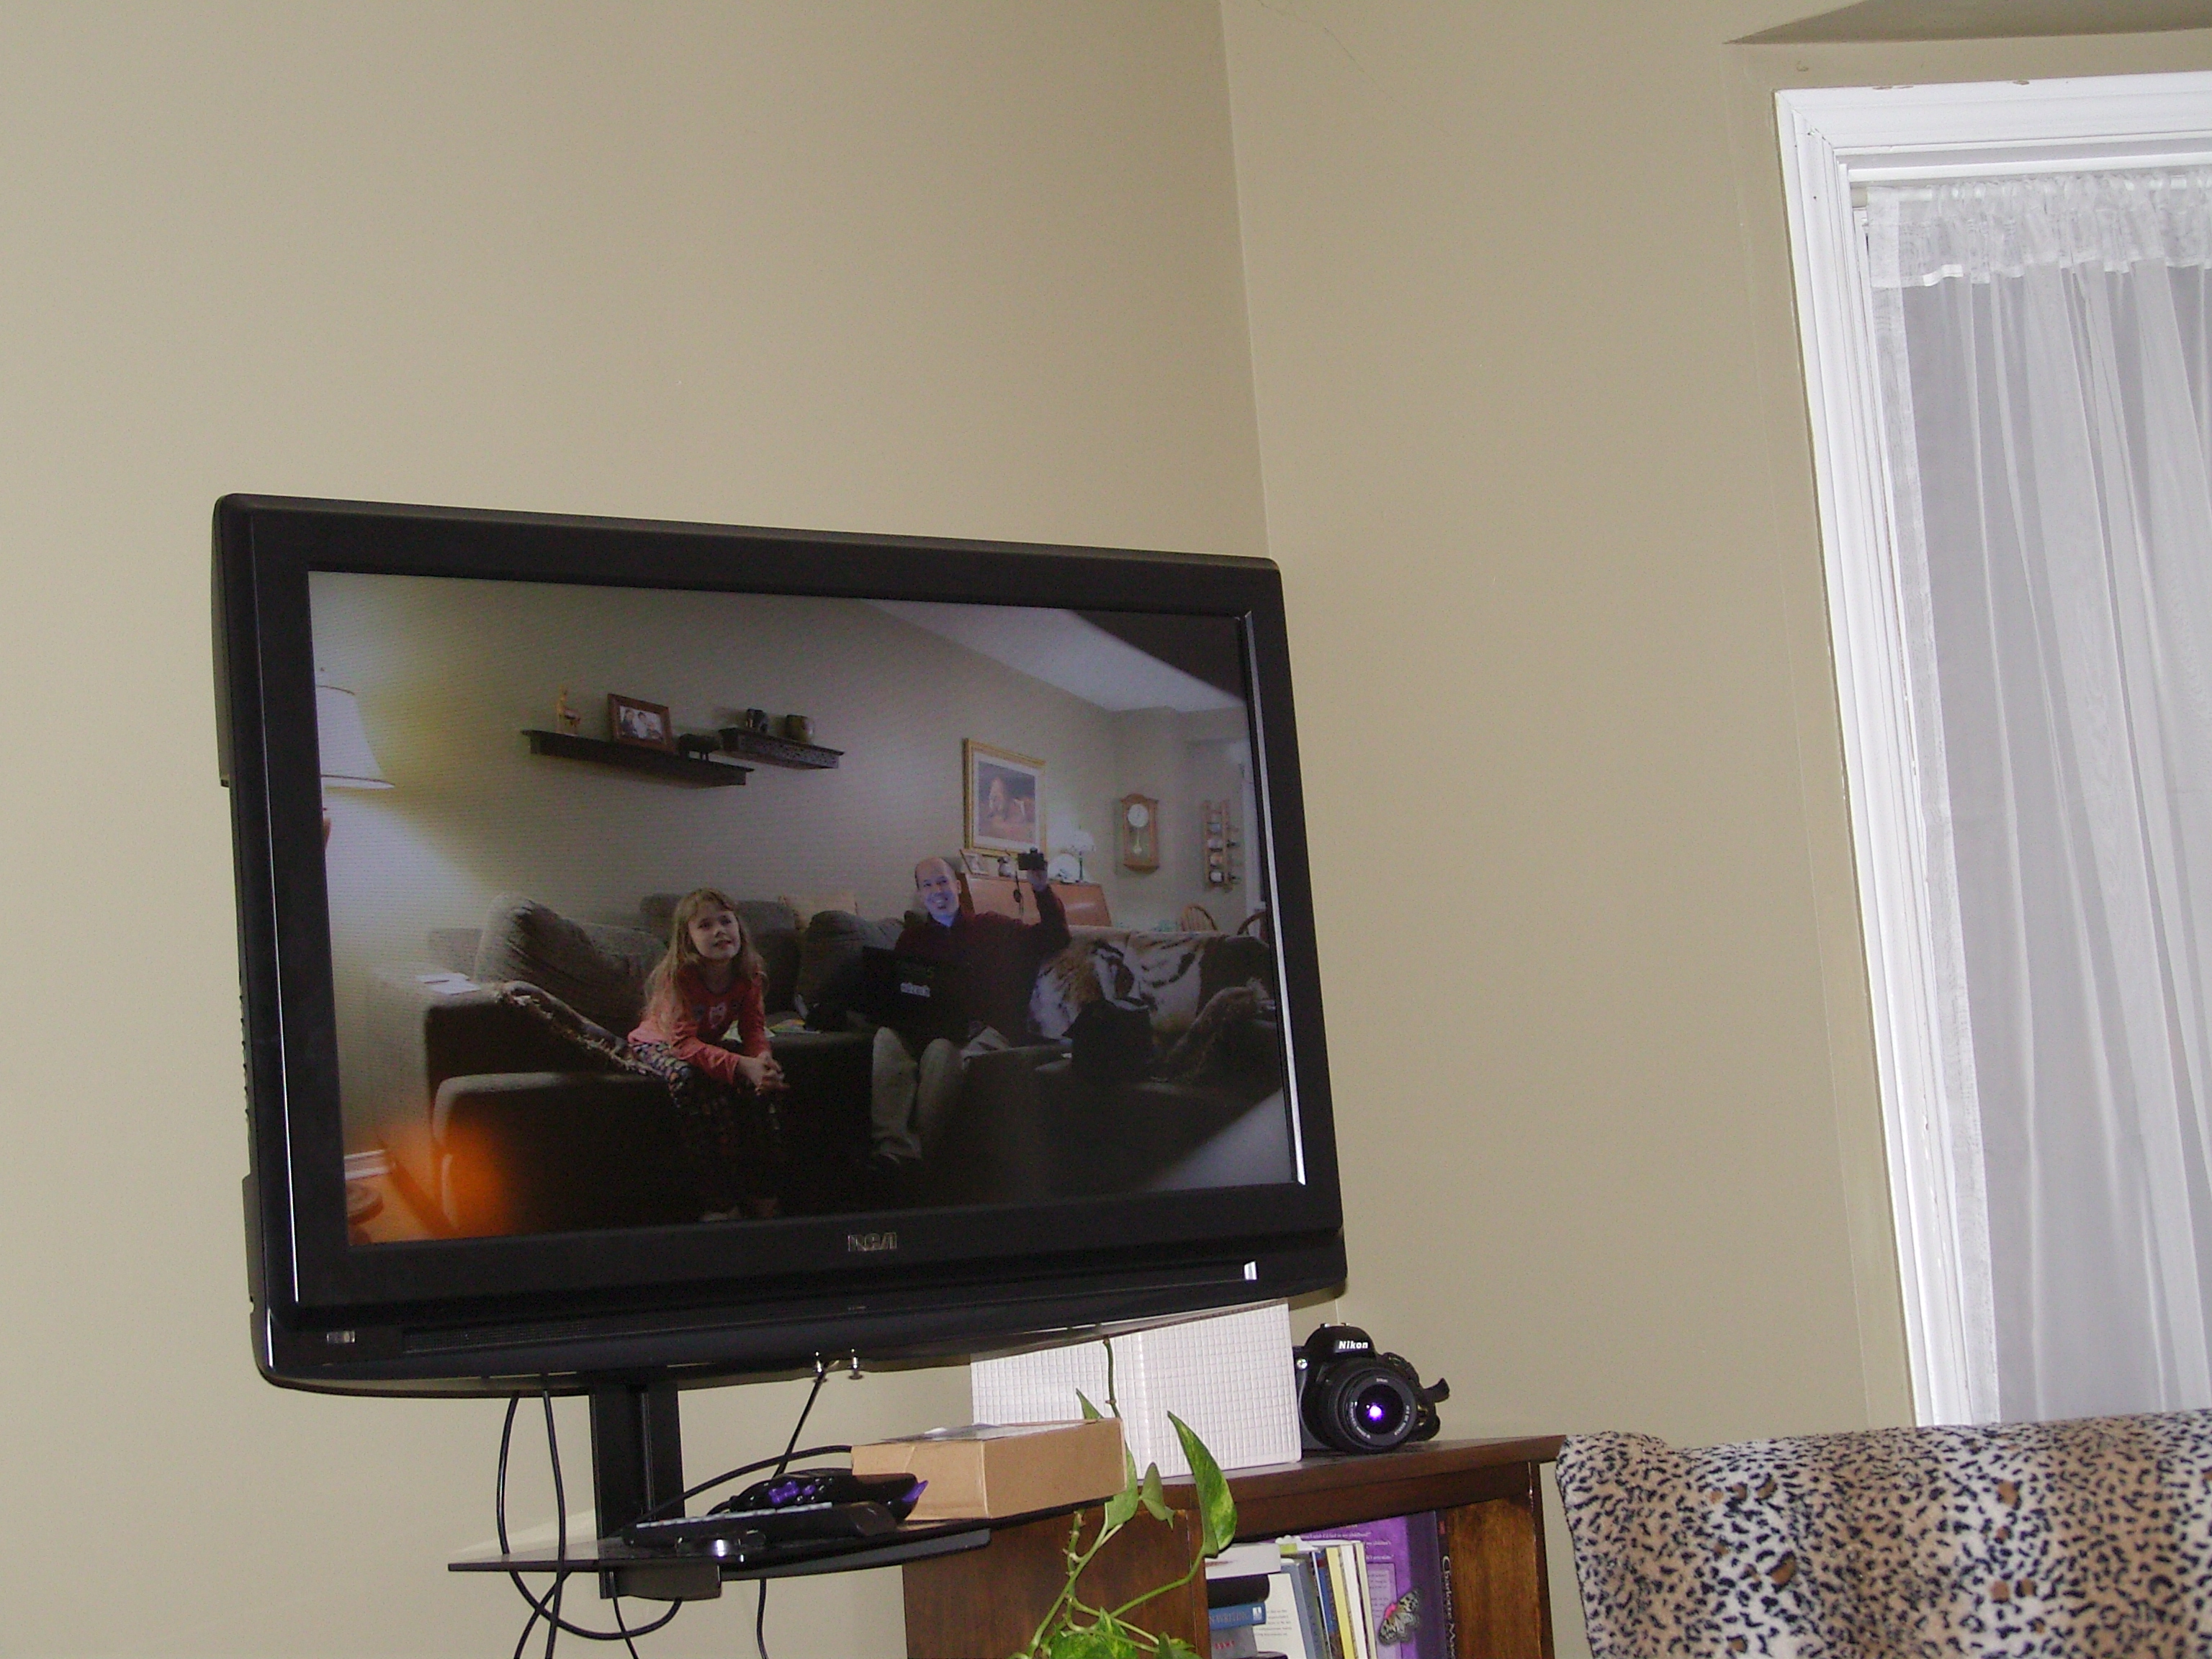
XAVC-encoded video from the Sony FDR-AX53 is only showing as PCM Audio in DaVinci Resolve 15 on Linux Mint 19

At the same time, there is no audio coming out of the speakers, though DaVinci Resolve 15 is the first version to include native audio support (using ALSA) in Linux.

So I’ll try converting the video to ProRes using the format settings I see in mediainfo C0001.MP4:

apt install ffmpeg
ffmpeg -i C0001.MP4 -c:v prores -vf "scale=3840:2160,fps=30000/1001,format=yuv422p" -b:v 110M -c:a pcm_s16le output.mov

I go to try it to see if it worked, and immediately start to think my old laptop might not be up to the task.

On the plus side, converting the video to ProRes worked (having rebooted, I can load it):

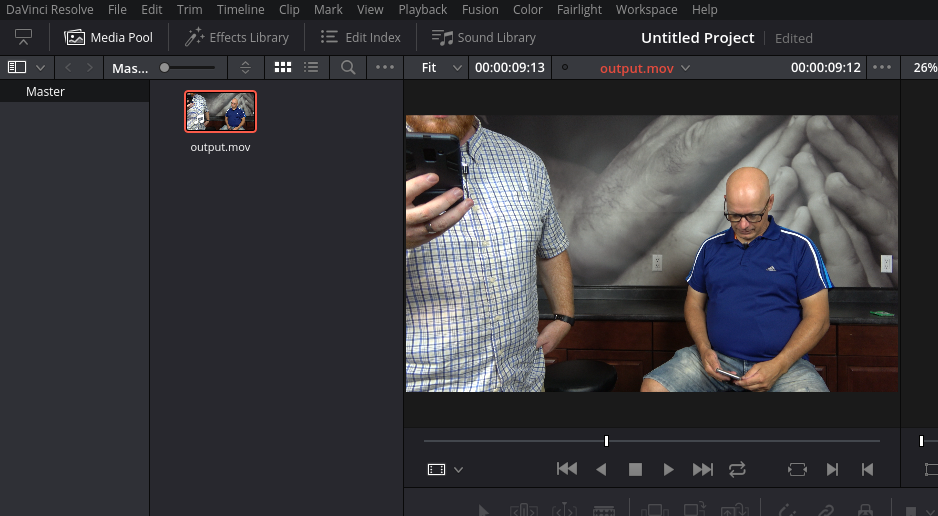
And there is sound now that the video has been converted!

But, it seems a sad fact that my computer is not up to the requirements to do this. Yet it works perfectly in Windows 10 with Cyberlink PowerDirector. So disappointing.

I’m going to continue tinkering with settings to see if I can squeeze some life out of this old girl.

Category5 TV Network license changed.

For the past 9 years, all Category5 TV Network programming has been licensed under Creative Commons Attribution 2.5 Canada.

In an effort to ensure both our own protection from the commercial reuse of our freely available content as well as to protect our viewers from companies adding protection such as DRM to our content, we are now moving all Category5 TV Network programming, retroactively, to the Creative Commons Attribution-NonCommercial-ShareAlike 3.0 Unported (CC BY-NC-SA 3.0).

Effective immediately under our new license, any commercial reuse of our material (eg., broadcasting on a commercial television channel, using our videos to generate revenue online, etc) must be approved in writing by myself.

Category5 TV remains entirely free for its viewers, no matter where they live in this big ol’ world of ours.

Enjoy the shows!

Robbie

Plex Media Server on a Raspberry Pi 3

I wanted to document the instructions shared on Episode 459 to supplement the episode.

On the show, Jeff and I demonstrated how to turn a Raspberry Pi 3 with Raspbian Jessie into a Plex Media Server, giving you the chance to stream your entire video and music library to all your devices.

I won’t get into the full details here, since this is only a supplement to give you some copy-and-paste instructions, but I’d encourage you to watch the video.

What You Need

  1. A Raspberry Pi 3 Micro Computer. Please consider purchasing it through our store to support what we do: https://cat5.tv/pi
  2. Raspbian Jessie – A free download from raspberrypi.org
  3. Obvious stuff like a good MicroSD card, Ethernet cable (preferred as opposed to wifi), keyboard and mouse… etc.

How to Do The Do
Updated February 7, 2018
due to some evolution of the process. These steps are more current than those used in the video (a new video will be coming soon).

  1. In terminal, upgrade your distro to the latest and greatest.
    sudo apt update
    sudo apt upgrade
    sudo apt dist-upgrade
  2. Reboot the Pi.
    sudo reboot
  3. Add the ability for apt to use https repositories. If you already have this, it’ll report as “already the current version” and you can move on.
    sudo apt install apt-transport-https
  4. Add the Plex Media Server repository provided by Universität Leipzig.
    echo "deb https://dev2day.de/pms/ jessie main" | sudo tee /etc/apt/sources.list.d/pms.list
  5. Add the GPG key for the repository.
    This is the “easy” method (which didn’t work for us because my keyboard was in some weird mode with no pipe character):

    wget -O - https://dev2day.de/pms/dev2day-pms.gpg.key | sudo apt-key add -

    Alternate method (which I had to use on the show since I didn’t have a pipe character… I’ve cleaned it up a bit since the live show so it is cleaner since it was an unexpected twist and I kinda made it seem more confusing than it should):

    wget -O /tmp/pms.key https://dev2day.de/pms/dev2day-pms.gpg.key
    sudo apt-key add /tmp/pms.key
  6. Update apt.
    sudo apt update
  7. Install Plex Media Server.
    sudo apt install plexmediaserver-installer
  8. Create the default config file so Plex knows what user to operate under.
    echo "PLEX_MEDIA_SERVER_USER=pi" | sudo tee -a /etc/default/plexmediaserver
    sudo chown -R pi:pi /var/lib/plexmediaserver
    sudo service plexmediaserver restart

    (Thanks to Steve for submitting this additional step)

  9. Reboot one final time.
    sudo reboot

And there you have it! All the commands we used to get Plex Media Server installed on a Raspberry Pi 3 in a nice clean blog post  🙂

Optional: Use External Storage for Media

From there, we plugged in the USB flash drive (don’t do it! Use a proper external hard drive–this was only a demonstration) and after it mounted we used the following command to see its /dev assignment:

sudo mount

Since our drive was /dev/sda1, and of the filesystem type “fat32” this is what I did to make it work as the media library for Plex Media Server:

sudo nano /etc/fstab

and add the following line:

/dev/sda1 /mnt/library fatfs defaults 0 0

I then created the mountpoint:

sudo mkdir /mnt/library

and made it so it can only be written to if mounted:

sudo chattr +i /mnt/library

and finally, mounted the drive:

sudo mount -a

From there, I could easily add folders on my external drive to Plex using the web interface, which you’ll find on Port 32400 in the /web subfolder on your Pi.

To get my IP address, I brought up the terminal on the Pi and typed:

sudo ifconfig

That showed the IP address of my Pi under “Ethernet”… 192.168.0.105

So to open Plex in my browser, from my computer I entered:

192.168.0.105:32400/web

The IP address will most likely be different for yours, and you might even want to set it up as a static IP. Easiest way to do that would be to use your router’s DHCP reservations to hard-set the Pi to something outside your DHCP pool. For me, that’d be 192.168.0.5 or something like that, since the pool seemingly starts at 100.

Good luck, and if you have any questions or comments, please leave them below. Don’t forget, if this has helped you out, or if you just love supporting nice guys who wanna keep giving knowledge for free, please head over to our Patreon page, or throw a bit in the tip jar. Thanks!

Our mailing address has change: Why we switched to Pak Mail

One of the difficult decisions I rarely have to make is changing something that is seemingly set in stone.

It happened once when we got our vanity phone number. 254-5-CAT5TV is a pretty cool phone number for us. But for the first two seasons of my show, we had the old local number in the lower third. I feel bad for whoever ended up with that number and years later is still getting calls from Category5 viewers who are watching back episodes.

Now, we’ve been promoting our PO Box for years. We rent the box because we have to have a place to receive mail. Our hours of operation are not that of a regular business, so we can’t accept mail at the studio without risking having to constantly miss deliveries. But having promoted our PO Box for so long, I was really hesitant to ever change it.

Here’s are the facts. Our PO Box, with Canada Post, is way over-priced. $73 every 3 months. Almost $300 per year to be able to accept mail. They do not discount if you prepay for the year, and they only accept parcel deliveries from their own carriers. Shipping via UPS? Too bad, our Canada Post post office will reject it.

Well, our postal box is once again up for renewal, and with last year’s bills fresh in my mind having just completed our Category5 taxes for 2014, I really felt we were paying too much. I asked Canada Post if there was any way to reduce the fee. Take into account my years of being a faithful customer. We prepay every year, we pay on time every time, and we have the smallest box possible. Why are we paying $300 per year? They said there is nothing they can do, and in fact in my time with Canada Post, the price only ever goes up.

So, I made some calls.

Pak Mail is the one alternative in Barrie who really impressed me. Pak Mail offers mailboxes for $140 per year plus tax (plus refundable deposit). What? That’s about half what I’m paying! Okay, I’m already interested.

I called them up and turns out they have 24 hour access, and they accept courier deliveries from all courier companies! That means our DHL shipments from China can go directly to our mailbox at Pak Mail.

They’re able to achieve this because it’s not a “PO Box” per se. It’s a “Suite”. So our Suite at their street address is 166. It just makes sense.

They’ll even keep my credit card number on file so if there are any import fees, the bill gets paid and my package gets delivered (this happens almost every time we get a product from China to review).

Also, the woman who works there said they will email me if a parcel arrives. Excuse me? Canada Post be darned, I’m sold ten times over!

This is when I fist bumped her.

So with 2 weeks to go before our annual renewal of the PO Box, I decided to suck up the fact that some people will bounce mail (but I’m doing my best to let you know in advance while we have the 2 week overlap!) in order to save money and add better service to the mix. There’s nothing I can do about old videos that mention the old PO Box, but hopefully people know to go to our web site for current information.

Here’s our new address. Please send us your postcard today!

Category5 TV
336 Yonge Street, Suite 166
Barrie, Ontario
Canada L4N 4C8

-Robbie

Convert video to several JPG images on Linux without ffmpeg.

These days I just use this command and hit CTRL-C when the video frames (V:) stop moving:

mplayer -vo jpeg:outdir=screenshots -sstep 10 filename.mp4

But, this post remains for the sake of historical record – lol!


I admit… I do love PHP in the command line. Does that make me a bad person? 😉

Here’s a tiny little script that I wrote to create many JPG screenshots of a video file. I use this each week to create a bunch of stills from our broadcast so I can use them as thumbnails and so-on. I didn’t want it to depend on ffmpeg since I don’t have that on any of my modern systems.

It requires just three packages: mplayer mediainfo php-5

Save it as whatever.php and run it like this: php whatever.php file.wmv

It will create a folder called file-Screenshots/ and will save one picture per 10 seconds for any video source. Just change “file.wmv” to the name of your video. Include the path if it’s not in the current folder.

<?php
  // Depends: mplayer mediainfo
  // Does not need ffmpeg (deprecated)

  if ($_GET) {
    $file = $_GET['file'];
  } else {
    $file = $argv[1];
  }
  
  if (strlen($file) < 3) exit('Need a proper filename for input.' . PHP_EOL);  
  $dir = array_shift(explode('.',$file)) . '-Screenshots';

  $duration = duration($file);
  echo 'Duration in Seconds: ' . $duration . PHP_EOL;
  echo 'Saving to folder:    ' . $dir . PHP_EOL;
  echo 'Creating ' . ($duration/10) . ' JPG images from source...';
  exec('mplayer -vo jpeg:outdir=' . $dir . ' -sstep 10 -endpos ' . ($duration-2) . ' ' . $file . ' > /dev/null 2>&1');
  echo ' Done.' . PHP_EOL; 

  function duration($file) {
    if (file_exists($file)) {
      exec('mediainfo -Inform="Audio;%ID%:%Format%:%Language/String%\n" ' . $file . ' | grep -m1 Duration | cut -d\':\' -f2',$result);
      $tmp = explode('h',$result[0]);
      $seconds = ((intval($tmp[0]*60)+intval($tmp[1]))*60);
      return intval(trim($seconds));
    } else {
      exit('File ' . $file . ' not found.' . PHP_EOL);
    }
  }
?>

Hope it helps you out.

-Robbie

Clean Fullscreen Live HDMI from a Nikon D5100

Please Note: A full video tutorial on how to do this will be presented on an upcoming episode of Category5 Technology TV.

Boxing week saw some great sales, but also, a lot of liquidation of refurb stock. For example, Henry’s had Nikon D5100 cameras with the 18-55mm kit lens on for just $350. You can probably find a similar deal on a used Nikon D5100 at B&H, but also keep in mind that this is a previous-generation DSLR (replaced with the D5200) so you should be able to find it pretty cheap. Please also try our Amazon links at http://shop.category5.tv/?product=nikon-d5100-dslr-camera-with-720p1080i-clean-hdmi-output since purchasing through them helps support the show, or of course, check B&H for used stock too: http://www.bhphotovideo.com/c/buy/0/Ntt/Nikon+D5100+Digital+SLR+Camera+With+18-55mm/usedSearch/1

So, what can this bad-boy do, beyond reasonably decent photography and better-than-entry-level 1080p recorded video? Why, HD clean video over HDMI … with a little know-how.

Tonight is our first test: to see if the D5100 could be used as an A camera for Category5 Technology TV while we continue to save up for the 4K option (which we just can’t afford yet).

Our AC adapter (a clever “battery pack” power unit) arrived today, and so I’m finally able to test if 1 hour of live video is possible… since the batteries it relies on typically only last about 30 minutes when rolling video.

40 minutes in, and the hacked camera continues to feed brilliant, crystal clear video to my TV. I’m running it at 720p since that’s the resolution of the show, but the live view will do up to 1080i.

The color saturation is incredible. Really, really impressive. My maroon shirt look exactly the same on screen as it does when I look at my arm.

So far, it’s looking good. I think we’re going to hit that 1 hour mark. If we do, this is revolutionary. A very affordable stop-gap solution… maybe not even that, since it really does look great. Consumer 1080p cameras have nothing on the D5100 as far as video goes.

The biggest failing of the DSLR form factor is its auto-focus. Fine for shooting nature shots, but useless for video. So if all goes well with this test, the next step will be to find a reasonably priced follow focus rig.

My goal is to be able to secure all we need to put together a decent camera rig and have spent only about $1,000… the cost of an entry level prosumer camcorder. This way, we’ll have the follow focus rig already on hand, and when the money is in the bank to buy a 4K DSLR, we will only have to sub out the D5100, which will make a great stills camera at that point, or could be used for B-Roll.

45 minutes in now… fingers crossed 🙂

Update: an hour has passed (now about 1 hour 15 minutes) and still running flawlessly. This means we will begin testing the camera on-air, and then will offer a full tutorial on how to hack and use a Nikon D5100 as a live camera source on Telestream Wirecast.

Hacked Nikon D5100 Clean Fullscreen Live View over HDMI

That’s the DSLR sitting on the shelf next to the TV.

How I plan to bring Internet service to Studio D

Qapla’!

On Tuesday, we were able to successfully broadcast a live show from Studio D via LTE Cellular Internet service! Episode 367 went out in 240p, which is gross, but it worked.

Please visit http://cat5.tv/c to contribute.

Why are we using LTE? Simple: there are no consumer-style (eg., Cable) Internet services in reach of Studio D. We are located in an industrial area where you either settle for DSL, or pay for Fibre.

Through our MiFi 2 we were able to get 8 Mb/sec up and about 25 Mb/sec down using LTE Cellular Internet service. It’s fast, but it’s expensive.

My ISP offers the ability to see your bandwidth usage and price, and so I already know the cost to broadcast that one episode live, in extremely low quality (240p), with no Roku feed and no audio feed, is $25. That’s a little more than $100 per month just to be able to send a crummy quality feed.

It’s good enough for the moment, but we can’t keep that up, nor do I want to sacrifice quality or the ability to watch on Roku or listen via the MP3 feed.

Fibre Internet is available at our location for $740 per month plus installation. That is obviously out of the question.

Wireless Internet is available at our location for $780 per month. Wow… we’d go with Fibre if we had that kind of money to toss around.

So I feel that the best option right now is to look at extending our home Internet (around $150 per month with unlimited bandwidth) to the studio, and we can do that using Ubiquiti Wireless Devices

First of all, in order to extend the Internet service wirelessly using Ubiquiti devices, we need to know if we have line of sight.

There is a really cool tool online for finding out if you have line-of-sight between two or more locations. You can see the tool [here]. According to its output, we’re looking pretty good. We may have to put a small tower on the roof of the studio (represented on the right side of this topography diagram), but all in all, it looks possible.

Using LTE, our cost would break down as follows:
YouTube Feed in 480p: $50 per episode, $200 per month
Roku Feed in 480p: $50 per episode, $200 per month
MP3 Feed in 96kbps: Negligible
Cost per month: $400
Cost per year: $4,800 for 8 Mb/sec up, 25 Mb/sec down

Using Ubiquiti Wireless Devices our up front cost would be:
2x Ubiquiti Rocket AC Lite Transmitter/Receiver Units: $300
2x Ubiquiti Rocket Dish Antennas: $400 (Remember, I’m paying CAD)
2x Mounting Kit, Needed Wires: $200
Total Up Front: $900 + tax ($1,017)

Then, our service fees would be:
Internet Connection, Unlimited Bandwidth: $150 per month, $1,800 per year for 450 Mb/sec direct wireless connection to our home Internet, which is 20 Mb/sec up, 200 Mb/sec down.

Total for first year: $2,817
Total for subsequent years: $1,800

Created using the Donation Thermometer plugin https://wordpress.org/plugins/donation-thermometer/.$1,017Thank you for your support$400Thank you for your support39%
As you can see, sharing our home Internet just makes more sense. It is much faster, and much cheaper, even with the initial expense of hardware. This also carries additional benefits, such as being able to backup to our home server via a wireless LAN connection.

So the inevitable question is to our community. Can you help with this expense?

Initially, we just have to get the hardware. I will install it myself (and show you the process step-by-step).

I know we also need a camera, and we’re still a ways off from that, but at the moment, this is pressing, as you can see from the numbers above.

If you can support this project, please donate at http://cat5.tv/c or send a cheque made out to me (Robbie Ferguson) with the memo “Studio D Internet” to PO Box 29009, Barrie, Ontario, Canada L4N 7W7.

THANK YOU for your support! Here’s to establishing a great, solid Internet connection at Studio D.

-Robbie

Studio D: Day 33

Day 33 was exciting! While Hillary recorded Tuesday’s show, I worked hard to pack up all the gear. Yes, this meant her poor microphone got disconnected and I heard non-stop complaints in the chat room about the on-board camera audio for Episode 366, but hey… it had to be done.

The moment Hillary signed off, I tore apart the studio desk, and we moved everything over to Studio D.

Tali tagged along to help with the video portion, and while it’s a bit “herky jerky”, I enjoyed giving her the chance to learn how to use a video camera… one day she’ll be part of the Category5 on-air crew, so it’s a good experience for her. And some of her commentary really made me laugh. And some of her commentary really impressed me. It struck me as I listened back to the recording that she’d actually been absorbing the things I’d taught her through this process. That really impressed me.

So, enjoy the video! More to come as we setup the room, and inevitably paint before our first live show in Studio D on September 30th.

Thanks for all your love and support!

-Robbie

Studio D: Day 26

Wahoo! I did my first “real” drywalling! I mean, I cut the drywall… I didn’t even have Christa cut it for me.  Haha!

That’s right, I got some scrap pieces of drywall and built the window sills. They may not be lovely pine or oak sills, but they were free!  The Landlord will like that.

I think I did an okay job, to be honest. We’ll see how they look once the adhesive dries, and then [gasp] I will have to mud it.

Sasha stopped in to see how things are shaping up, and my daughter Tali looked in the brush for frogs. I think because we found one a while back, she expects she’ll find one every time she visits Studio D. I hate to see her disappointed, so I might have to buy a few frogs and hide them like Easter eggs – haha!

Here’s the video from Day 26:

-Robbie

Studio D: Day 25

After all the work that has been put into sealing up the building from leaks, I called on Andy Christie from Safe Homes Canada once again to come in and find out if our drywall is a dry wall.  😉

Come along…

Thanks for all your support through this crazy adventure!

-Robbie